
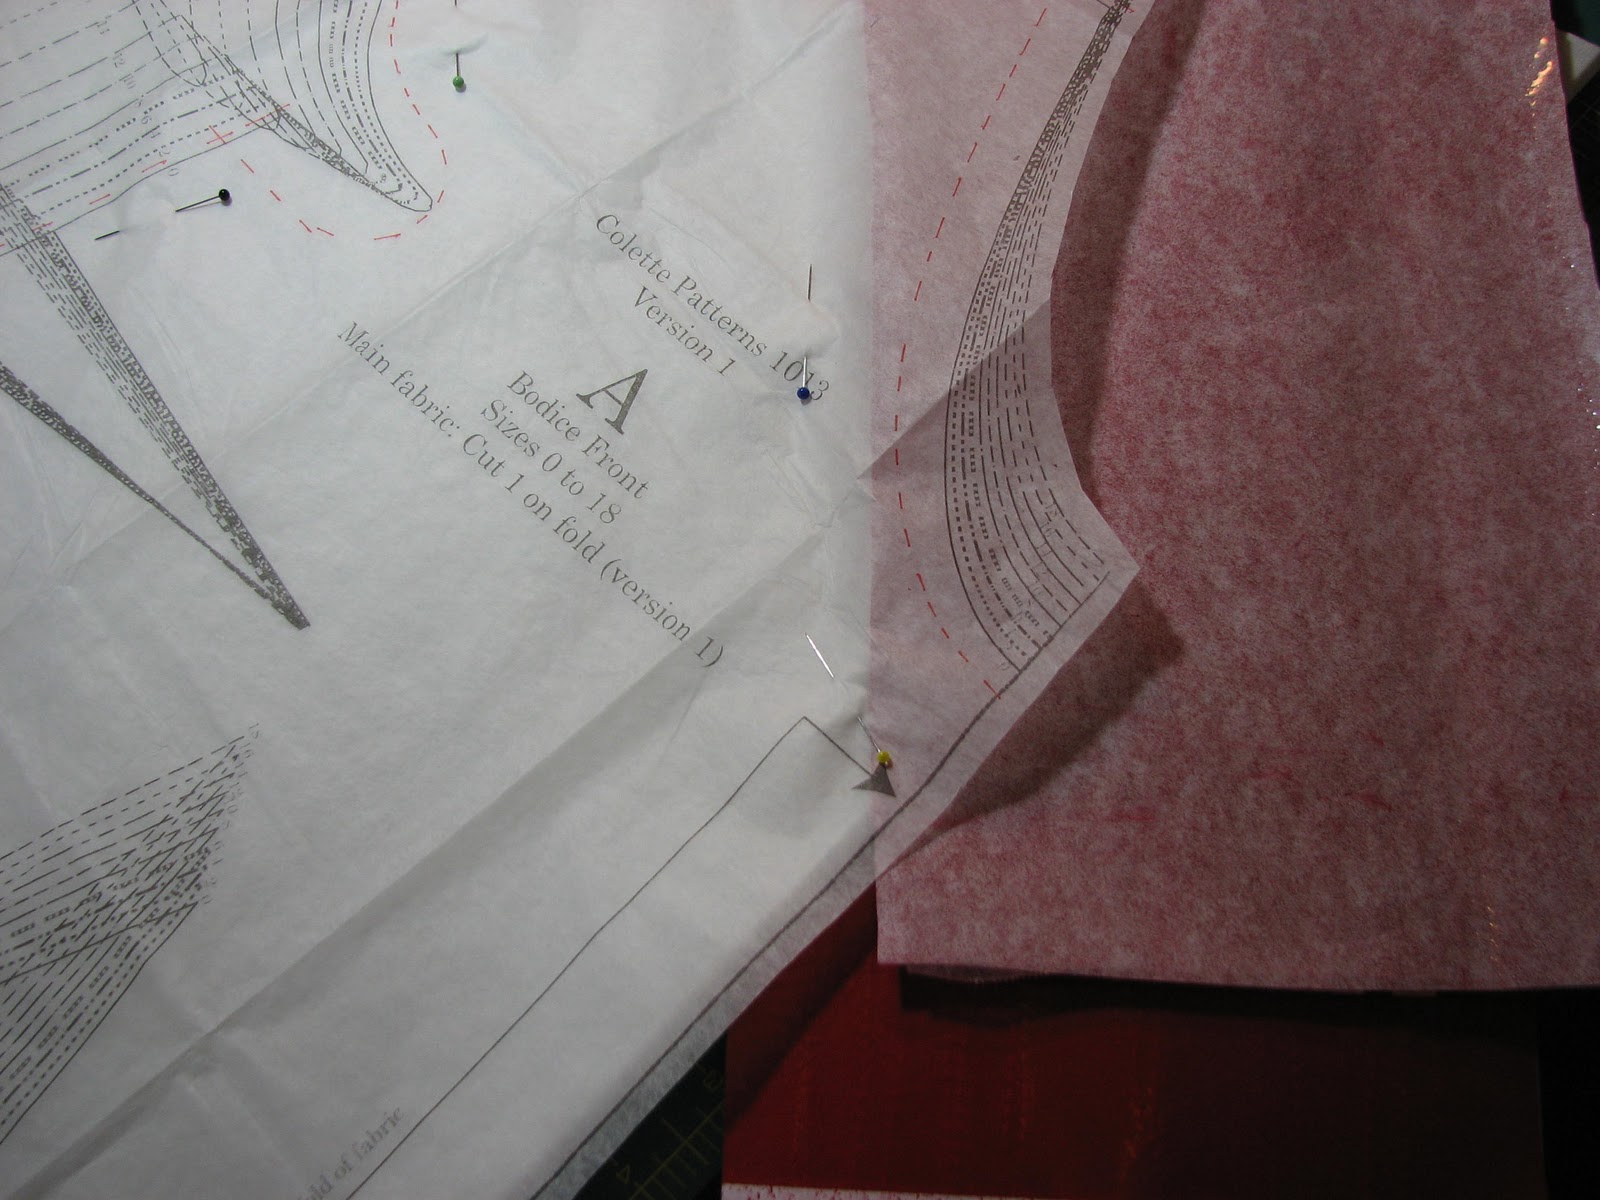
Remember last week when I was marking the seam allowances on the pattern for my sewing class but had no idea why? It now makes sense! So, I applied the same knowledge to the Crepe pattern. I marked the seam allowances on the bodice pattern pieces, pinned the pattern to the muslin, and then the magic starts. You slide a piece of professional transfer paper (basically a piece of paper with wax on one side) face down between your pattern and muslin. Place another piece of transfer paper face up underneath the entire stack of muslin. This placement will allow you to trace onto both sides of your muslin, meaning, you'll be tracing both pieces of muslin at the same time. Brilliance! My instructor suggested putting a layer of packing tape on the back of the paper so it doesn't shred as you trace. After using this paper for two patterns, it looks like it will hold up for a long time, which is a good thing because I just did a quick search to see where you can purchase this stuff and I can't find it anywhere online. Apparently it's only available in garment districts!
Then, take your very handy double tracing wheel, place the left wheel on your seam allowance markings and start tracing! The right wheel is tracing the line that you will use to cut out your pieces. I picked the widest distance between both wheels to give myself a little more wiggle room with fitting. The double tracing wheel takes a little getting used to because you have to put equal pressure on both wheels so both lines trace onto the muslin. A quick word to the wise: be mindful of your hands while your using this paper. No matter what you do, you'll get the wax on your hands, which can get the coloring on everything around you. Like how my tracing wheel is already turning red?

I do like how the paper smells strongly of crayons. See how neato the tracing looks on the muslin?

Here are my two pattern pieces all nicely traced. You then machine baste along the traced seam allowance and dart lines.

Now we come to the sad part of this post. The top of my body and the bottom differed by about 4 sizes, so I went with the larger of the two sizes thinking that I could take in the top. Oh how I'm laughing at myself now, especially since in my search to find transfer paper, I came across Gertie's post from the fall using the same exact tracing method (we even referenced the same article from Threads!). In her post, Gertie grades the waist between sizes to accommodate her hips. Firstly, this is an option?! Secondly, how did I not remember this since I read Gertie's blog every day. ::Big sigh:: Since I would have to grade between more sizes than Gertie (she only graded between 2), I'm going to take this pattern along with me to sewing class on Wednesday and see what our instructor says. This is both frustrating and hopeful at the same time.
Since we're already here, I guess I'll share the huge muslin that I basted together. Let's say it together: Yuck.

And here's a view of the back. There is a body under all of that muslin! Of course I realize that this is essentially 4 sizes too big. I tried to pinch in where the extra fabric is, but it never ended up looking right.

I'm considering this good practice for tracing and marking up a muslin, so not all time was lost. While this is frustrating, at least I can see the basic shape of the dress and like it enough to try making a brand new muslin. And once I get the muslin fitting issues down, making the actual dress should be a breeze. Stay tuned!
0 comments:
Post a Comment
I love to receive your comments and try to respond to all via email.