
I could have ordered a case when I bought my laptop, but all of the cases were black and boring. Most of the time I keep my laptop out on our side table in the living room, so I wanted something pretty.
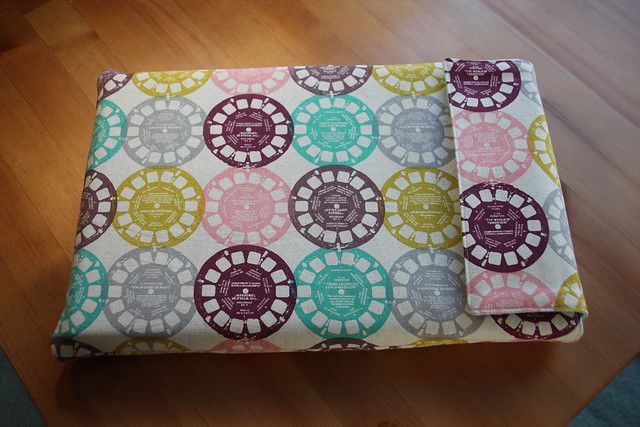
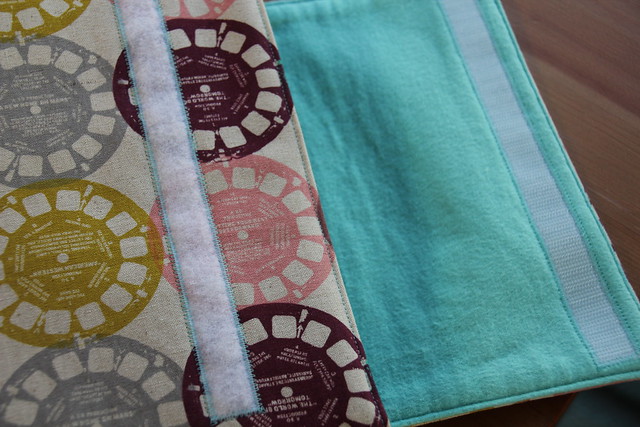
I finally built up enough courage to cut into my precious Ruby Star Rising viewfinder print. Thankfully I didn't have to use that much of it, so I still have a lot left! The lining is a teal flannel that I picked up at Joann for super cheap with a coupon. It's so soft and I think it goes perfectly with the viewfinders!
I used Elizabeth Hartman's Laptop Sleeve pattern for Sew Mama Sew. The pattern was really easy to follow even though you have to do your own math. I double checked mine to ensure that I wouldn't end up wasting any fabric, but in true form, I made a mistake. I measured the height of my laptop from the front without realizing that it angles up and is higher in the back. Gah!
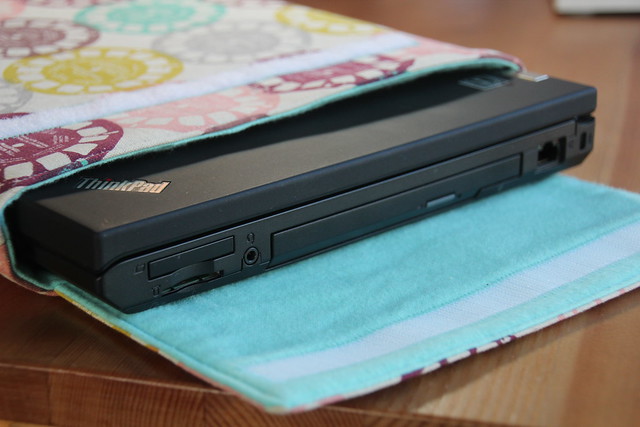
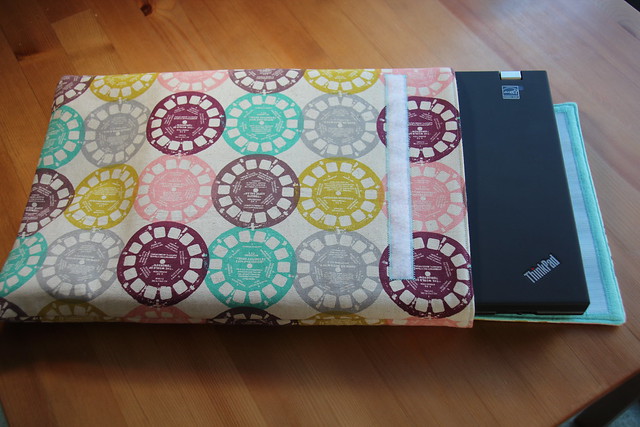
Of course I didn't realize this until after I had finished the sleeve and tried to insert my laptop. After some struggle, I was finally able to close the flap with the computer completely inside, but it took way too much effort. I was disappointed and torn about what to do to remedy the situation.

The next day I woke up and realized that if I took it all apart I could sew it back together with smaller seam allowances. Mindblowing, I know. It saddened me to have to rip out the seams and basically start from the beginning, but I kept telling myself that there was hope that the laptop would just slide right in when I was finished.
And guess what? It totally worked! I decreased the seam allowances from 1/2" to 1/4" and that was enough to create ease in the sleeve. It's so easy to get my laptop in now!
I definitely could not have found such a pretty sleeve in a store. And it looks gorgeous sitting on our side table too!
I LOVE this! I might have to commission one for my laptop. Ari might like it as a 1st birthday present! :)
ReplyDeleteThis is so super cute! LOVE the fabric! Great job!! I'm so glad you were able to find a solution to make it work-- what a relief!
ReplyDeleteThanks guys! A week later and I'm still just as obsessed with my laptop sleeve than I was when I first made it.
ReplyDelete