I know that title seems insane, but I actually did make 105
handmade gifts for Christmas this year! OK, some of them were batch gifts, but
when divided, they came out to 105 items. Am I nuts? Perhaps, but there is a
reason to my madness. My husband’s family decided to forego a Pollyanna for the
adults and just get something small for everyone’s stocking. The kids, of
course, can receive gifts from everyone, but since it’s been getting harder and
harder to find gifts for the adults, we all welcomed this change. I also knew
that we’d have a few extra guests this year with my brother in law’s family
joining us from Honduras, so I wanted to make our stocking gifts extra special.
This simple idea turned into my most prolific handmade Christmas to date. Or
probably ever. Maybe.
My initial plan for the stockings was to make about 12
different gifts, have the adults draw numbers, and then select their gift in
that order. Then I decided to expand the stocking gifts to my family too. Then
I had so much fun making the gifts that I decided to expand the game: the
adults get to select one gift from each of three categories of gifts. The
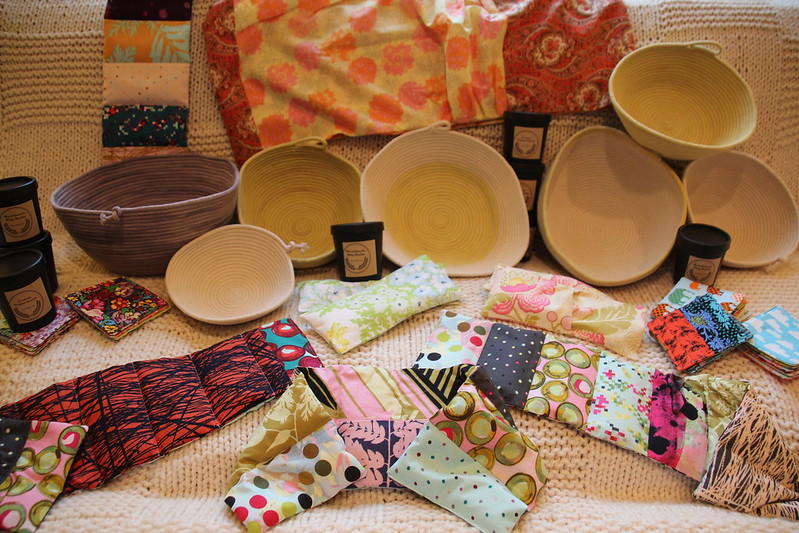
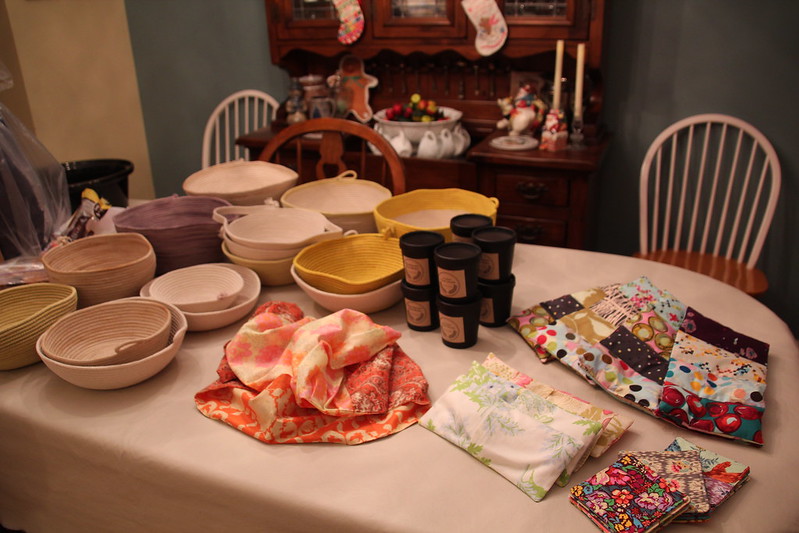
categories are: rope bowls, concoctions, and comfort. Here we go, but forgive
my pictures. I was managed to get everything done on time but I didn’t have
time to get good pictures of everything. Forgive my late-night, bad lighting
photos!
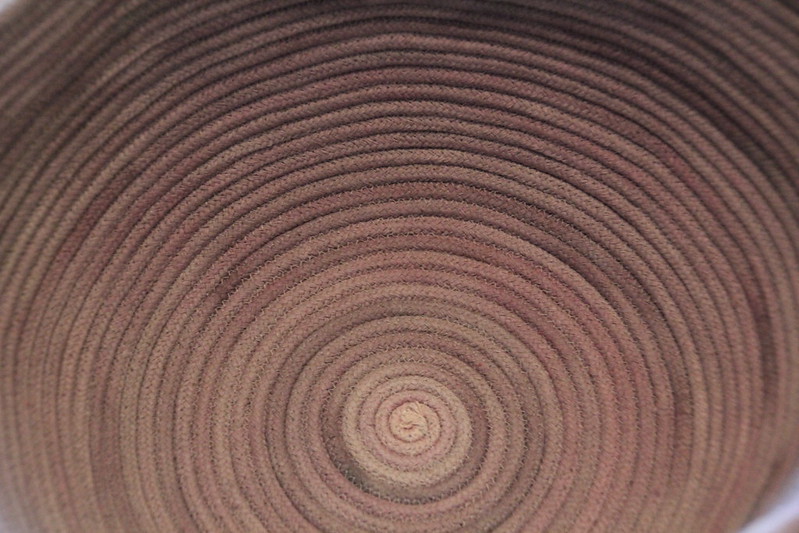
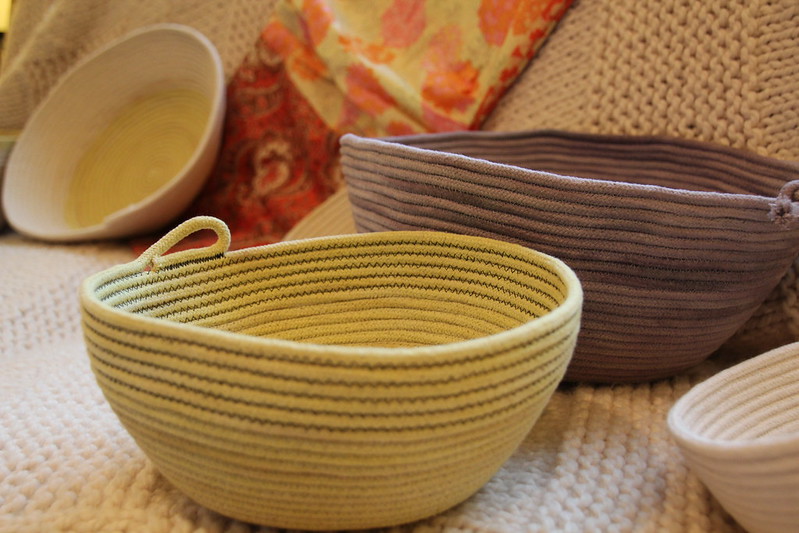
Rope Bowls
I’ve been seeing these pop up all over Instagram for the
past year and finally decided to get over my fear and try it already. They are
SO MUCH FUN. I used the Rope Baskets article by Maya Donenfeld in the
FOLK issue of Taproot
and Amanda Soule’s
rope
basket post on Soule Mama as references. But honestly, making them is
really a practice of trial and error. The width/length of the zig zag stitch,
the size of the base, the angle that you hold the base while sewing the sides,
and the color thread that you use make the bowl completely unique every time.
It’s exciting to see how tiny variations make such different bowls. I’ve never
used a pottery wheel, but I imagine the process of seeing the bowl take shape
as you sew is very similarly gratifying to seeing clay take shape on a wheel.
And the entire process is so mindless you could use this as a nice buffer
between intense sewing projects or just when you need a mental break.
I added an extra element of adventure by dyeing the rope
with natural ingredients. My first attempt was a mish mosh of things that I
found in the kitchen. I started with a small amount of frozen blueberries. When
that didn’t really do much, I added dried peppers, chili powder, and cayenne
pepper, but the rope still didn’t change colors that much. Then I turned to
curry and that whole combination resulted in a yellowish green, almost citron
color. For the second batch I returned to blueberries but used a whole frozen
package, which worked great! The last two batches were made with turmeric and
about two weeks’ worth of used coffee grinds. I felt like a mad scientist
playing with all of the elements! And the one positive to the unseasonably warm
weather we’ve been having is that I was able to hose down the coffee-dyed rope
outside without freezing. I like the blueberry and turmeric dyes the best.
I’m toying with the idea of selling these at local craft
fairs because I can’t get enough of the dyeing and making them. I used a
cotton/poly clothesline that I found online for the Christmas gifts, but
afterward I decided to go all-natural and I found 100% cotton rope from a
company based in Ohio. I’m sure you’ll hear more about this in the coming
months.
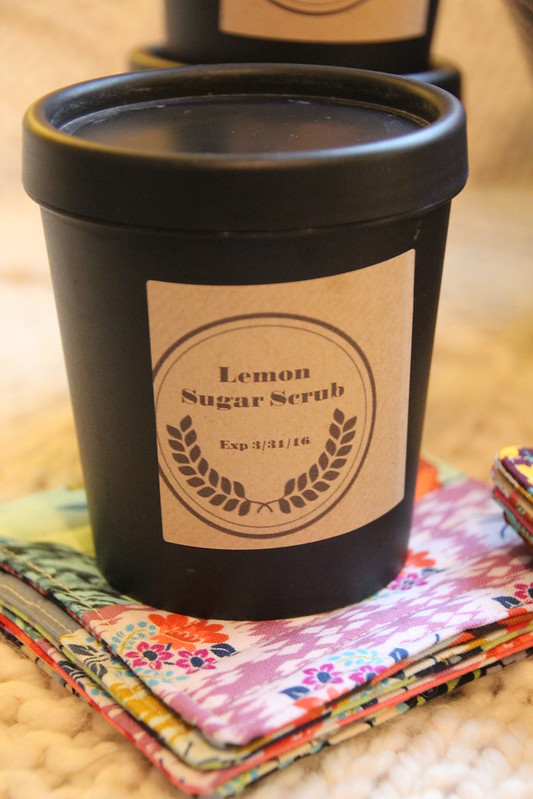
Concoctions
I’ve been making homemade cleaning supplies for a few years
now and since I started I’ve been meaning to try out more handmade pampering
products. Making them for others is the perfect time to try it! It wouldn’t be
Christmas in our house unless I was burning something on the stove/oven.
Usually it’s butter dripping from my cheesecake pans—this time it was mullein
leaves and olive oil. I have no idea what happened, but the end result was me
sequestering the burning pot in the backyard and scrapping the homemade vapor
rub. I ended up making lemon/grapefruit/orange
sugar
scrub and
bug
balm. They both smell so yummy! I used Amy Karol’s recipes for both. She
has a great
homemade
apothecary class on Creativebug, btw. I’m also making myself a batch of
vapor rub, but making the mullein oil the slow way by steeping mullein leaves
in olive oil for two weeks. We’ll see how it turns out!
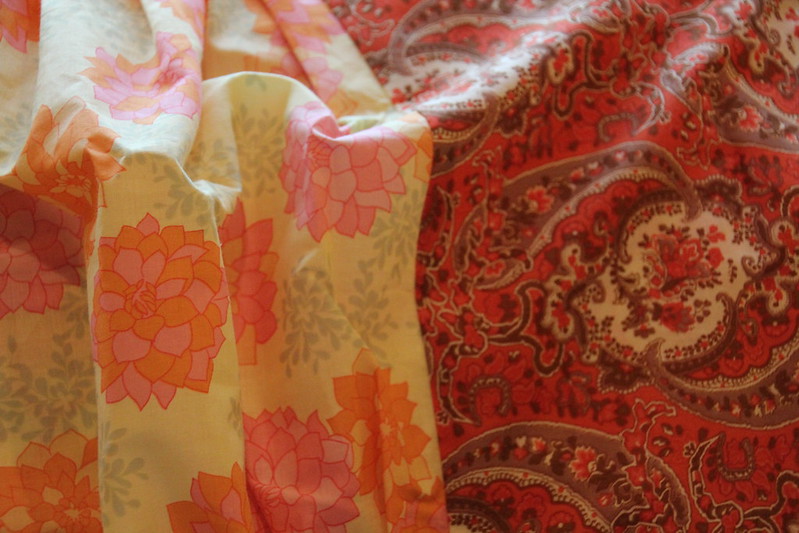
Comfort
Infinity scarf: Earlier this year I won an
infinity scarf kit and the fabric wasn’t my style, so I decided to make the
scarf and offer it up as stocking stuffer. The pattern is
free from Free Spirit.
It came out cute, but the pleats were kinda a pain and the whole project took
way too long for the end result. I doubt I’d make this again.
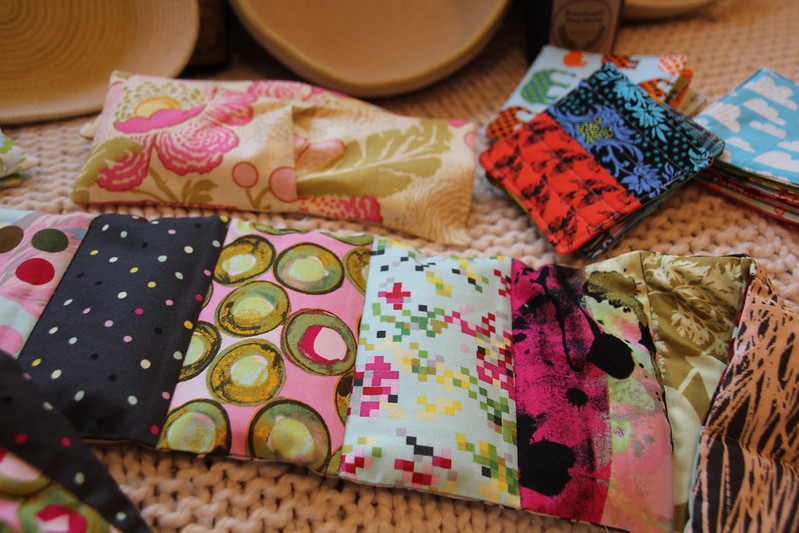
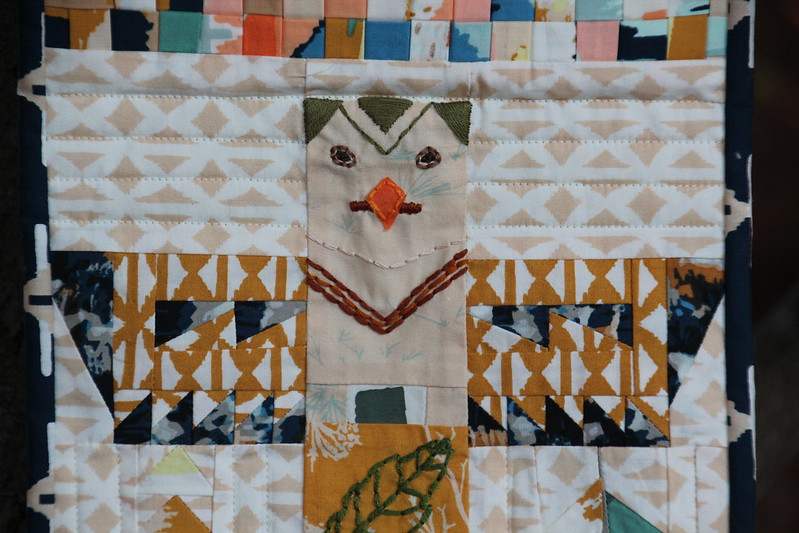
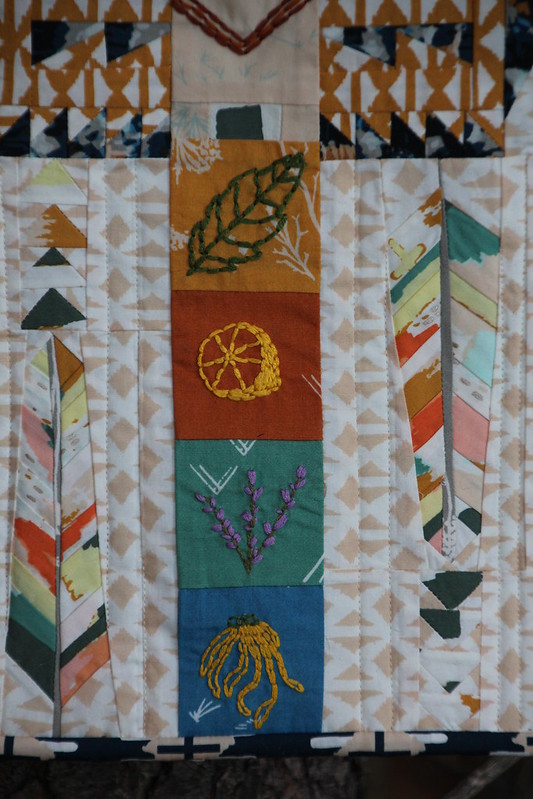
Eye Pillows: I’ve had the
free Amy Butler
Eye Pillow pattern in my files for years and finally found the time to make
it! And I was able to use scraps to make them (Amy Butler Midwest Modern and
Nicey Jane by Heather Bailey).
It was fun to see the anticipation while our family members
selected their items. There were some tense moments when one person thought the
other was going to select the item that they wanted! It all turned out great in
the end and everyone had fun and enjoyed what they picked out. It was a
success!
And then I didn’t stop with the stocking stuffer game.
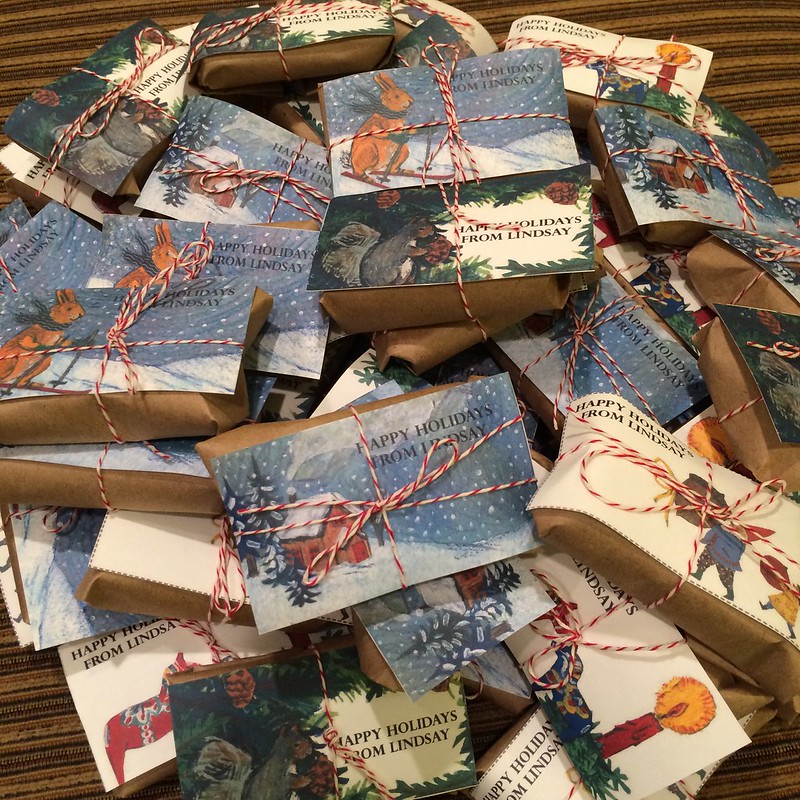
Exfoliating Peppermint Soap
For a couple of Christmases in the past, I made exfoliating
peppermint soap for my co-workers and it was a big hit. Last year I was out on
leave during Christmas so I didn’t make any soap and I think I skipped the year
before, so I decided it was time to bring back the soap. You would not believe
how much people love this stuff. Someone mentions it to me every few months
throughout the year without fail. And it’s so easy to make! As long as you
remember to make it far enough in advance so it has enough time to cure before
wrapping. I was way ahead of the game this year and made the soap on Halloween
weekend. Thanks to the delicious peppermint smell permeating our house, I have
been in the Christmas spirit for about two months now. I used the Good Morning
Soap recipe from Raleigh Briggs’
How to Make Soap Without Burning Your Face Off. Such a great
resource and such a brilliant title!
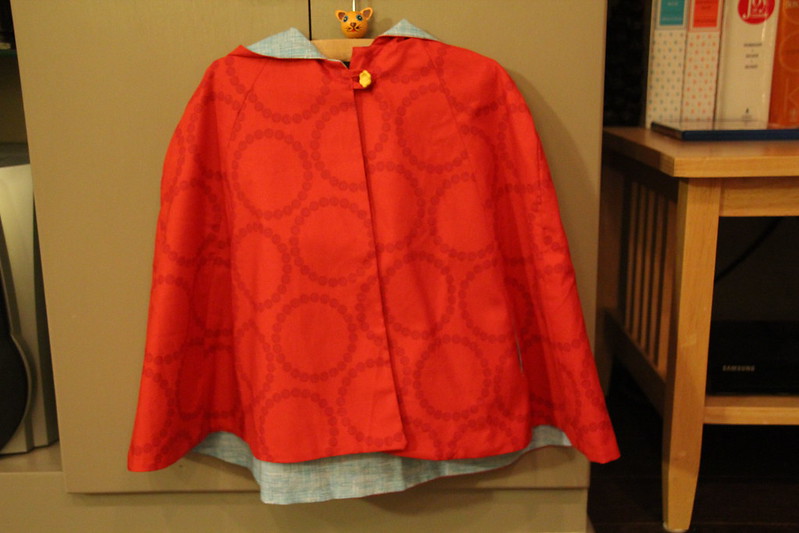
Red Riding Hood Cape and Tutu from Little Things to Sew
My niece just turned 3 so it was the perfect time to break
out the Oliver + S book
Little Things to Sew and make her an
adorable red riding hood cape. She is super girly and I knew a red cape was a
must, so finding the Lizzy House pearl bracelets on sale at
Pennington Quilt Works was a bonus.
I’m so glad I finally got to make this cape since it was one of two projects
that convinced me to buy the book. I
made
the other, the Explorer Vest, for my nephew in 2011. I can’t believe it’s
been that long!
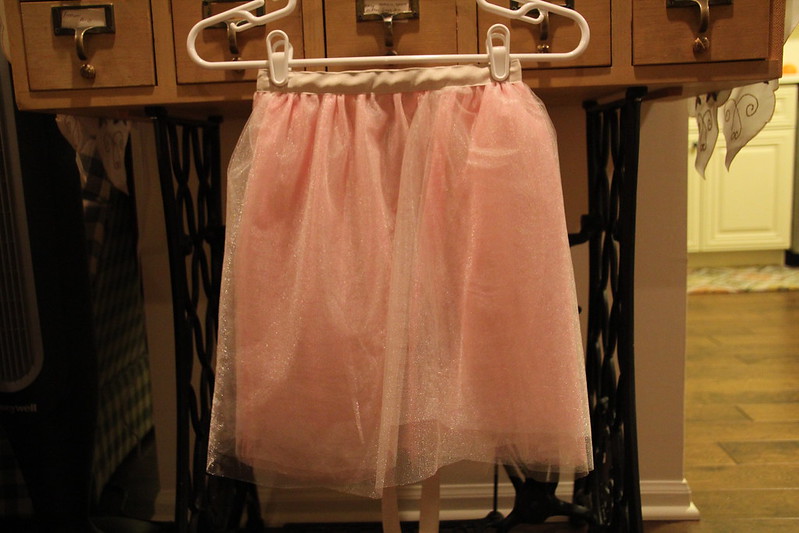
Shortly after I decided to make the red riding hood cape, I
decided that now was the perfect time to also make my niece the tutu from
Little Things to Sew. This book is filled with relatively
quick and easy projects that turn out so wonderfully and hold up to years of
abuse. I made the tutu and the cape in one afternoon. I’m glad to report that
my niece loved them and put the tutu on right away.
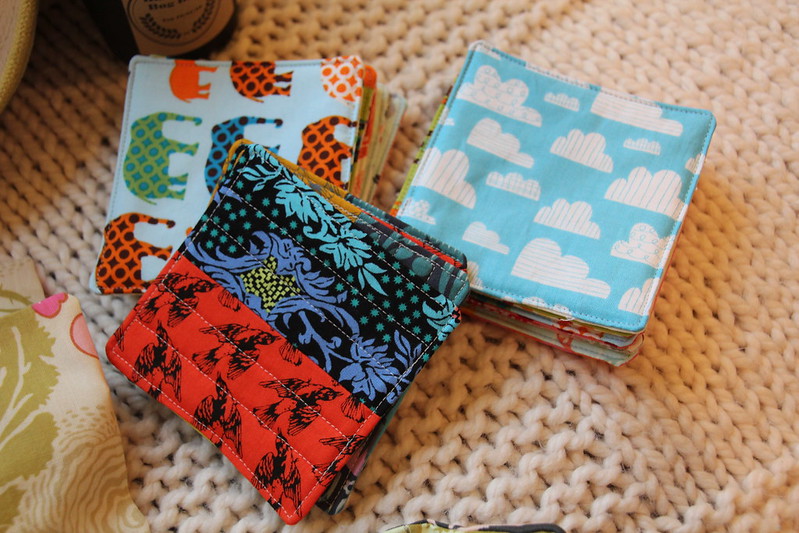
Kids Coasters
The long-running joke that kids will play with anything but
the toys you get them is so long running because it’s true. My daughter is
constantly picking up and carrying around the coasters in our living room (and
everyone else’s living room for that matter), so I made her a few when I was
making the stocking stuffer coaster sets. She loved the new ones so much that I
made coaster sets for a few of the little ones in our family.
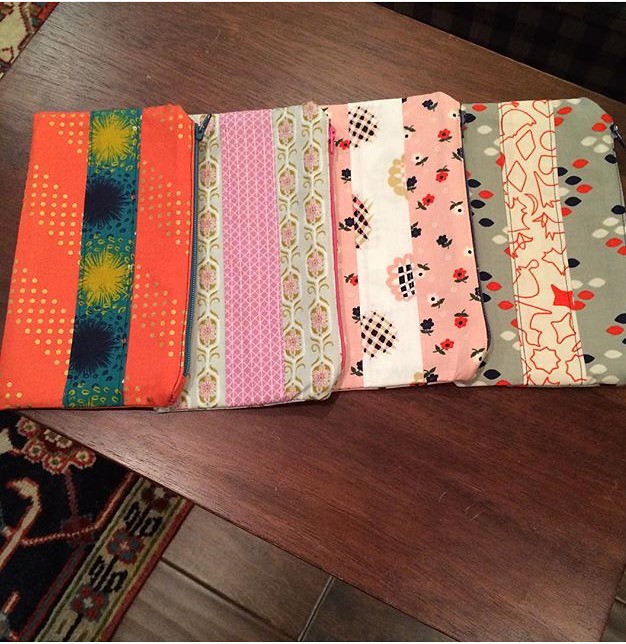
Teacher Clutches
The teachers at my daughter’s day care are so wonderful and
they love our little one so much that I knew I wanted to make them something
extra special for Christmas. I started out making them
gathered
clutches by Anna at Noodlehead, but my OCDness couldn’t deal with the
un-uniformity of the gathers, so I ended up making them ungathered clutches. I
love how the Cotton + Steel prints mix and match.
Knit Baby Blanket
Almost 10 months ago, my beautiful niece was born and in the
flurry that was life having a 3-month old, I never got around to making her a
baby blanket. I had the yarn, but it just never happened. I figured now was the
time to finally make her a baby blanket before she completely outgrew it. If
she doesn’t get much wear out of it now, she can always use it to play with her
dolls. Or when she’s older, to cover hot leather car seats in the summer like
my family does with our baby blankets. My point: I’m not worried, this thing
will get used even though she’s not receiving it as a newborn.
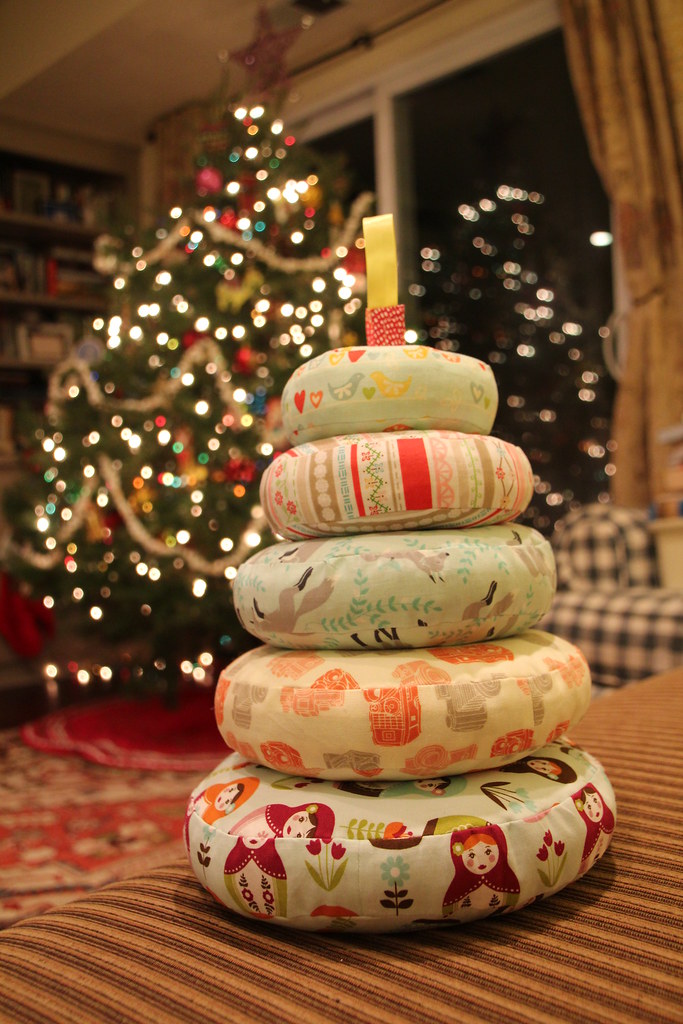
Stackable Ring Toy
Every time I make this toy I vow to never make it again
because it always ends up taking way longer than I thought to make it. I
finally have the perfect method to making them: I somehow convinced my sewing
teacher to assembly line these things with me. She does all of the annoying
pinning and then hands them to me to sew and then I hand them back to her for
snipping and pinning the next step. It’s perfect! For me, anyway. She doesn’t
seem to mind though! Don’t worry, I’m thanking her for her sweat shop contributions
by giving her a rope basket and some soap.
The final tallies are:
56 bars of
peppermint soap
16 rope bowls
1 infinity scarf
4 shoulder heating
pads
4 eye pillows
3 sets of coasters
6 lemon sugar
scrubs
4 bug balms
4 zipper clutches
1 red riding hood
cape
1 tutu
3 kids coaster sets
1 knit baby blanket
1 stackable rings
toy
It was a busy Christmas season! I think the key to not
getting overwhelmed was starting early and using my nights and weekends wisely.
I actually didn’t spend every weekend sewing and we were still able to do some fun
Christmasy activities. If I hadn’t gotten sick for an entire week in the middle
of December, I would have been on track for finishing everything before
Christmas Eve.
I still have my mom’s birthday present and my secret quilter
gift for Central Jersey to make, so I’m not entirely out of the gift making
woods yet. But almost!
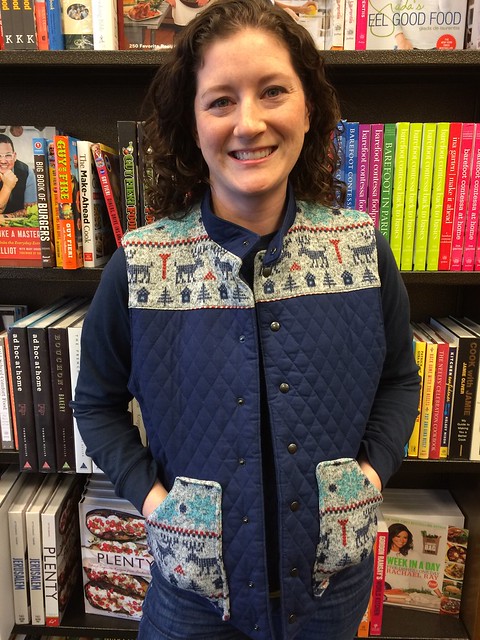
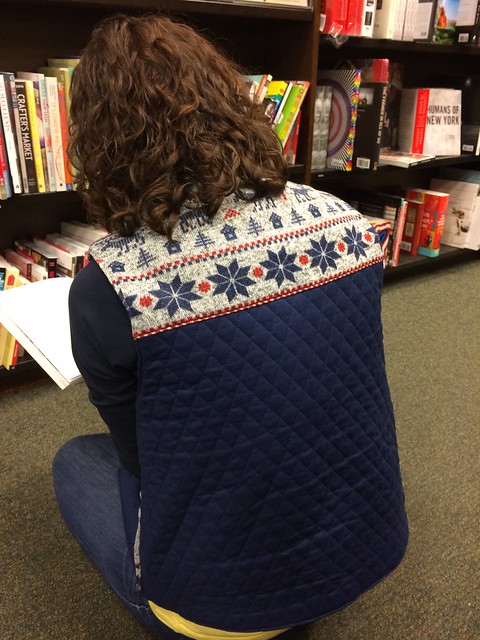
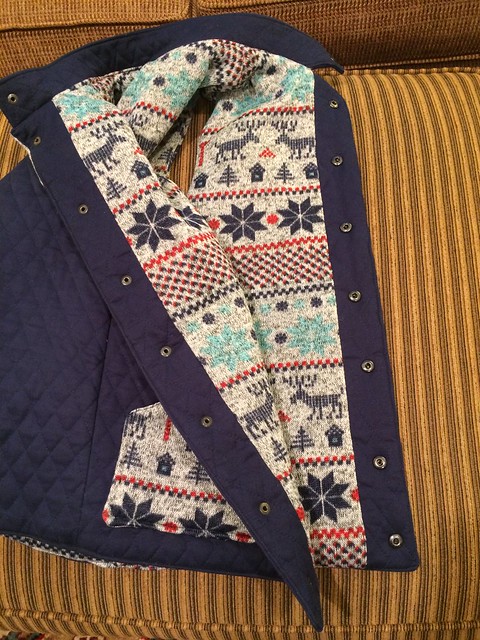
I did manage to sneak in some selfish sewing last weekend
and made myself a vest that I intended to wear on Christmas. Unfortunately this
weird warm weather we’ve been having had a mind of its own and it was too hot
to wear it. Stay tuned for pics!